MAPublisher LabelPro provides users with an intuitive graphical interface for setting up labeling rules. Each Point, Line and Area rule dialog box has numerous label placement options for a high level of label detail and a variety of configurations. Pre-defined default rules are a good starting point out of the box, however customization can make your labeling even better.
Articles
Verify that labels were successfully placed in accordance to the MAPublisher LabelPro configuartion—and placed in either Destination or Supression layers. If no Suppression layer is available, non-compliant text is ignored and is not generated. Once placed, the labels are considered standard text and may be modified using Adobe Illustrator or MAPublisher operations. MAPublisher® LabelPro™ labeling is fast, efficient and customizable. Save countless hours of tedious post-labeling refinement of your map labels. It is the best cartographic labeling engine that offers a complete rule-based system for collision-free text placement in Adobe Illustrator. Batch generate Label Filters to create multiple filters with only a few clicks. Automatically add leader lines for small features. Stack long, one-line labels into multi-line labels. Automatically reduce font sizes for better fitment. Achieve high-quality labels on curved line features. Fine tune label placement around points. And much more… Save styles and rules to a file for future use or to share with multiple users across a network or across the country. Importing them is easy as dropping them into a MAPublisher LabelPro settings folder. Easily manage license options including commercial, academic, multi-user and floating. Empower multiple users on a network with cost effective network or floating licenses. With the latest release of Geographic Imager 5.2, it’s now possible to easily import images directly from an ArcGIS Online account or an ArcGIS web service. This will allow you to use shared data within your ArcGIS Online organizational account and connect to publicly available map servers from various online sources. ArcGIS Online is a collaborative web GIS that allows you to store and share GIS data using Esri’s secure cloud. Before, you may have had to download raster layers to your local machine and then import them into Adobe Photoshop using Geographic Imager. Now, Geographic Imager has a much-improved workflow to get ArcGIS Online image layers into Adobe Photoshop with full georeferencing. Currently, the types of datasets allowed are Map Image Layers and Tile Layers. To load a layer, open Advanced Import and select ArcGIS Online from the Format drop-down list. Enter the credentials for your ArcGIS Online account and select an image layer from your user portal. Images can be resized and transformed on import. To extract a specific area from the image, click Select Area. The interface is the same as the one used for WMS Import. In addition to using your own organization’s data, you can connect to publicly available data from a wide variety of organizations by connecting to an ArcGIS Web Service. To connect to a web service, use Advanced Import and select ArcGIS Web Service from the Format drop-down menu. Click Browse and enter the URL for the service. This is a great option when searching for data from open data portals created by government agencies. Avenza Maps is capable of importing and displaying georeferenced maps in several different formats. The app processes a map by rasterizing and tiling it on import. The speed and result of processing will vary depending on the type of file used and the size and dimensions. We’ll discuss the types of files allowed and the advantages of each. Usually larger files take longer to process than smaller ones with some exceptions. An image may have a very high resolution but a small disk size due to image compression. It is recommended that images be less than 100 megapixels for upload to the app. A geospatial PDF file with many vector features may also take a long time to process. In this case, you should convert the file to an image to avoid having to rasterize vector data in the app. 
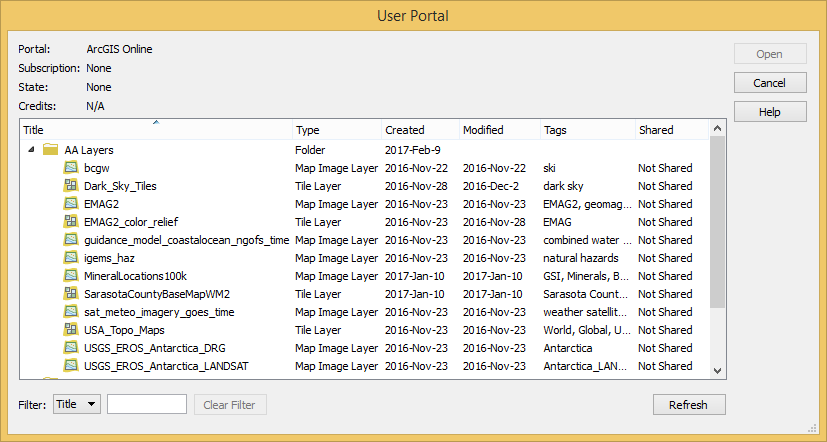
Maps can be loaded into the app faster by processing them before import. Maps can also be preprocessed by uploading them to the Avenza Maps Store or using the Export to Avenza Maps tool in Geographic Imager or MAPublisher. GeoTIFF A GeoTIFF is a TIFF file (Tagged Image File Format) with spatial information embedded in the file. This format is typically the preferred format for uploading directly to Avenza Maps without preprocessing. Since this is an image format, the app doesn’t need to rasterize the file on import meaning processing times will generally be faster compared to PDF’s, and it will maintain the native resolution. It is also possible to import a normal TIFF file by zipping it with a TIFF World File (TFW) and either a WKT or PRJ file which contains projection information. It is best not to do this for the sake of simplicity. Usually, any GIS software that can produce a world file will also be able to save to GeoTIFF.
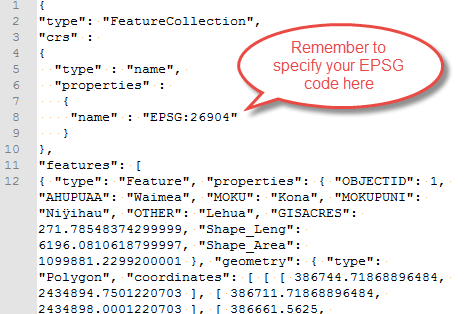
 Geospatial PDF A Geospatial PDF stores spatial data in either raster or vector format as well as associated attributes and layer information. Files should comply with the Adobe Acrobat PDF 1.7 specification which has been standard since 2006. Avenza Maps rasterizes geospatial PDF files on import which discards layer and attribute information. PDF files typically take longer to process than image files. There is also a chance that the file may process incorrectly (e.g. discarding labels). Despite this, there are some instances when it may be preferable to use a geospatial PDF file. For example, the map may already be in this format and isn’t worthwhile to convert to another format. Geospatial PDF files tend to be smaller than image files so they would be a good solution if device storage space or download speed is an issue. Also, occasionally converting from PDF to TIFF degrades the image quality and may make maps illegible. To ensure a geospatial PDF file has a good balance between size and quality, open the file in Adobe Acrobat and go to Advanced > PDF Optimizer. This is especially helpful if the map contains large raster images. JPEG JPEG is an image format like TIFF but it does not have the ability to store spatial information. To load a JPEG into Avenza Maps, it must be zipped with a JPEG World File (JGW) and either WKT or PRJ file. JPEG files are compressed so this may be an option to consider if file size is a consideration, however, a better alternative would be to compress a GeoTIFF file. Processing Maps with MAPublisher, Geographic Imager, and the Map Store It is best to process maps before loading them into the app because desktop computers are more powerful than mobile devices. It also avoids having to process the file each time the map is loaded onto a device. Geographic Imager and MAPublisher each have a utility to export to an Avenza Maps package with the capability to upload directly to the Avenza Map Store if you have a vendor account. Running these utilities produces a folder that contains a ZIP file with a thumbnail to show a preview of the map, a reference file, and a folder called tiles that contains a tiled version of the map in PNG format. This ZIP file can be imported into the app in the same way as other files. Uploading a map to the Avenza Map Store processes the map the same way. To use the store, register a vendor account on the Avenza Maps website. In the latest GeoJSON specification (2016), the coordinate reference system for all coordinates is a geographic coordinate reference system—using the World Geodetic System 1984 (WGS 84) datum—with longitude and latitude units of decimal degrees. The previous specification (2008) allowed for the use of alternative coordinates systems, but this was removed because of interoperability issues. MAPublisher still recognizes GeoJSON files with a specified coordinate system even though it is no longer officially supported. However, if no coordinate system is specified, MAPublisher will assume the coordinates are in WGS 84. Occasionally, this may cause a problem of improperly formatted files that contain projected coordinates but have no specified coordinate system. In this case, users will need to either choose a coordinate system during import or modify the GeoJSON file by adding a coordinate reference system (CRS) object manually. To change the coordinate system using the Import dialog box, click Advanced and select the WGS 84 link under Coordinate System. Ignore the warning about changing the coordinate system by clicking “Replace coordinate system”. Select the correct projected coordinate system from the list. Coordinate reference systems can be specified in a GeoJSON file using a CRS object. You can view the contents of any GeoJSON file by opening it in a text editor such as Notepad. Copy and paste the text below after the line: “type”: “FeatureCollection”, (usually on line 2). Change the EPSG number to the correct CRS for your dataset. See Spatialreference.org to lookup an EPSG code. Example: The GeoJSON file can now be read properly by MAPublisher and can be imported as normal.Styles
Results
Save Time
Intelligent Labeling
Share Settings
License Management
Use Geographic Imager to Import Imagery from ArcGIS Online Directly Into Adobe Photoshop


Best Practices for Processing and Importing Maps into the Avenza Maps App
Comparison of Allowed File Types
Handling GeoJSON Files with Unspecified Projected Coordinate Systems
Selecting a Coordinate System on Import

Modifying the GeoJSON File Manually
"crs":
{
"type" : "name",
"properties" :
{
"name" : "EPSG:[EPSG Code]"
}
},


