What is HTML5?
HTML5 is the current major revision of HTML (Hypertext Markup Language), the core markup language of the Internet. One of its major development goals was to reduce the need for proprietary, plug-ins such as Adobe Flash and to provide new graphics drawing abilities to the canvas element of HTML5. Scripting (e.g. JavaScript) is used to draw graphics, animations, and display other types of content. The potential of applications in online mapping with HTML5 technology varies widely including uses in fields such as cartography, GIS, demographics, and statistics.
Introduction to HTML5 Map Web Author
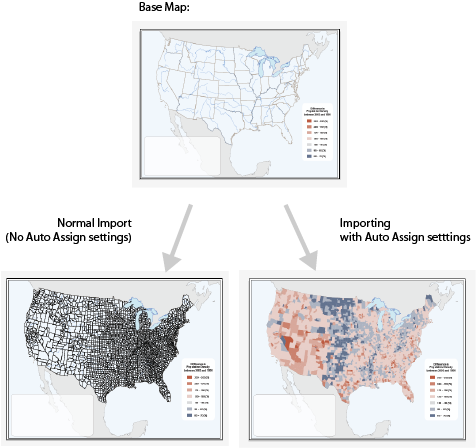
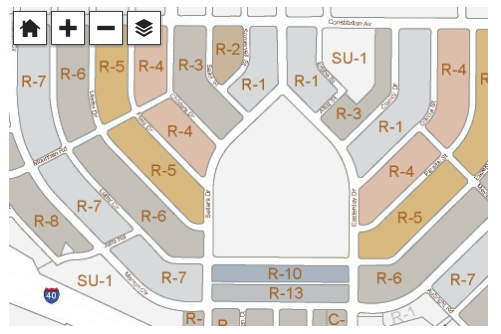
As maps become more detailed and data sources becoming richer, the way we present multiple data layers and map projections in dynamic map zoom levels and extents, traditional web mapping techniques start to become too limited. While many current web maps are rendered and served through a server, this could limit the amount of data provided and be slow to transfer as more and more tiles are served. MAP Web Author uses a technique to make maps from Adobe Illustrator compatible with browsers that support HTML5, specifically the canvas element. The maps exported using MAP Web Author are not server-side rendered, instead, they are rendered on-the-fly and content dynamically changes when the map is panned or the map zoom level is changed. This ultimately produces a more flexible, interactive and dynamic map. An HTML5 map also has more efficient storage and requires less space than other web map technologies. Stored vector map data (points, lines, and areas) is more efficient than raster tiles and can be displayed at any scale and even styled using CSS. Since HTML5 technology replaces browser plug-ins like Flash or Java, web maps generated by MAPublisher are accessible on Android, iOS, and Windows mobile devices (smartphones and tablets).
Files created from export
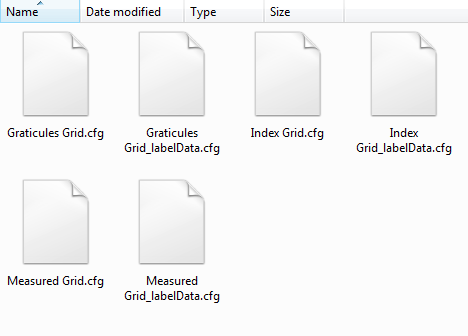
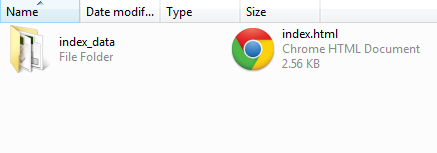
After exporting your map using MAP Web Author to HTML5 format, several files will be created. A ready to use index.html file and an index_data folder. The index.html file contains pre-formatted code necessary to view your map. In most instances, you can simply open the file in a browser to view the web map.
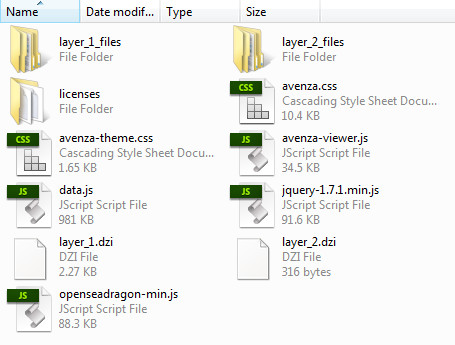
The index_data folder contains all of the necessary map layer data, JavaScript files, and CSS files to display your map.
How to embed an HTML5 web map into your site
The viewer will be embedded inside of a div element in your page (the “container div”). The map view will fill the container div.
For mobile specific sites we recommend setting the width and height of the container div to 100%, then using max-width and max-height to limit the width to the size of the map. The style should fit in the head, like this:
<style>
	#map_container {
		max-width: 479px;
		width: 100%;
		max-height: 320px;
		height: 100%;
	}
</style>
For standard websites we recommend explicitly setting a width and height of the container div. The style should fit in the head, like this:
<style>
	#map_container {
		width: 479px;
		height: 320px;
	}
</style>
The following script tags must be included in the head tag as well. These scripts contain JavaScript functions that allow the map to function, like so:
<script src="index_data/jquery-1.7.1.min.js"></script>
<script src="index_data/openseadragon-min.js"></script>
<script src="index_data/avenza-viewer.js">lt;/script>
Keep note that the prefixUrl points to the directory where your map data is stored. It should be a relative path to avoid cross-site access errors. The id is used below in the body of your page.
<script>
	var avenzaViewer;
	$(function () {

		AVENZA.initialize();
		avenzaViewer = AVENZA.embedViewer({
			id: 'map_container',
			prefixUrl: 'index_data/'
		});
	});
</script>
Within the body tag, place the div element where appropriate. Specifying the div element id initiates the JavaScript to display the HTML5 web map. If a browser that is not compatible is used, then the message is displayed.
<div id="map_container">
	<div style="display:none">
		<!--
		The message below will appear instead of the map if
		a user connects with a browser that does not support
		enough HTML5 for the map viewer to function. You may
		wish to customize the message for your site.
		-->
		A web browser that supports HTML5 is required in order
		to view this content. If you are seeing this message
		then your current web browser does not.

		Please upgrade.
</div>
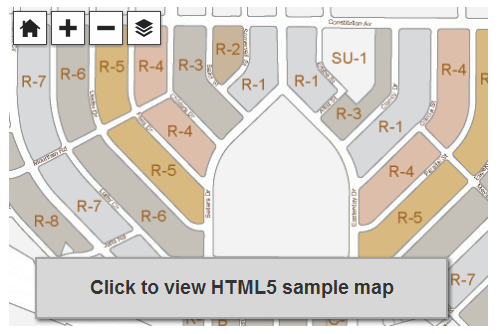
More information and sample HTML5 maps can be found in the MAP Web Author section.